Before starting my Astr0naught project I actually intended to sculpt something based on a character design, not something I made up as I went along. I loved Elliot Alfredius' illustrations and began working on one of these characters.
But I soon realised that I wasn't anywhere near the level I needed to be, in order to pull off such a complex design in zBrush. So I went off, practised more, did my own project, and came back to it with the tools for the job. So to speak.
Now, nearly a year after I sent that initial email asking Mr Alfredius' permission to use his design as inspiration, I have something finished. You can see all of that here and it looks a bit like this:
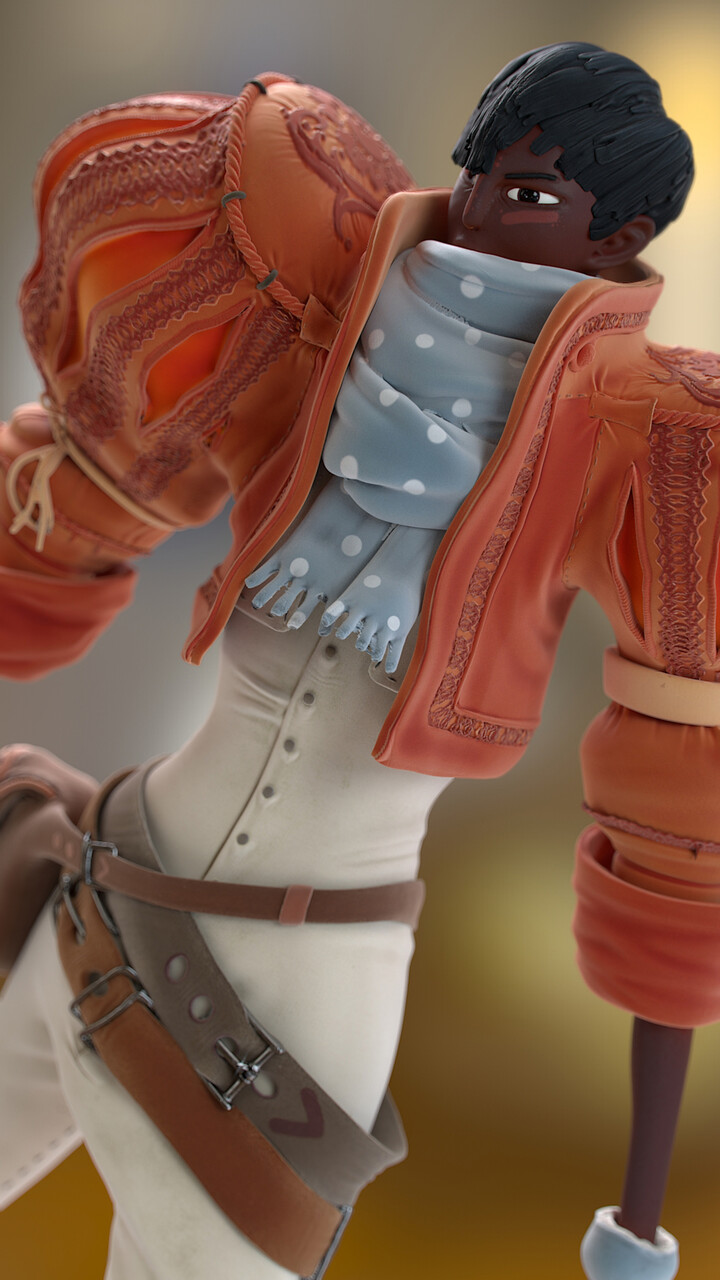
Please do go and look at it, there are lots of renders and a turntable.
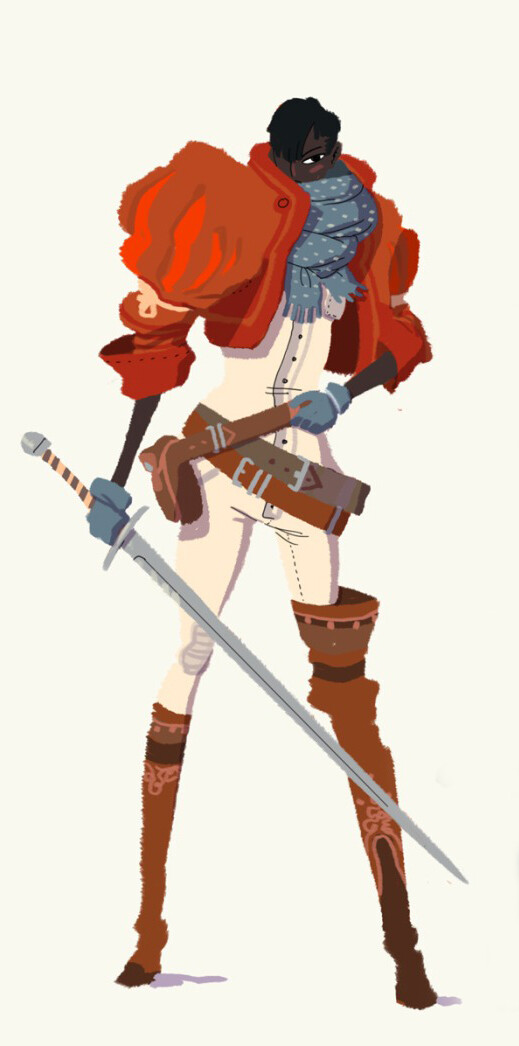
Elliot Alfredius Illustration
But thats not what this post is for, this is for the bit before.
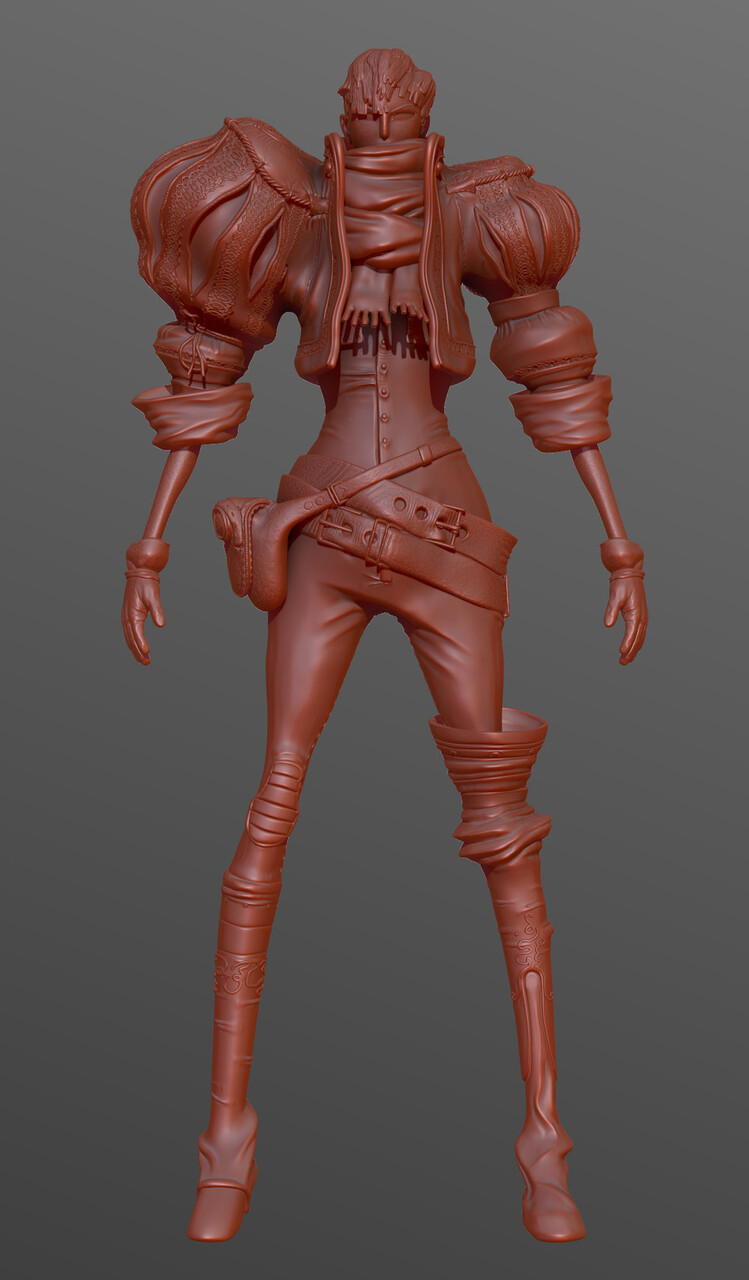
I modelled the base mesh in Maya, I still find this easier than zbrush. I don't know if its quicker, but its certainly less frustrating. zBrush is very quick at radically changing forms, which is great but it also means that very quickly you can end up miles from where you intended to be. Creating or ruining shapes that were close to done minutes ago. So fairly quickly I was able to get to this blobby approximation of the shapes and proportions. The hair and scarf details were slightly more refined than the rest of it at this point.
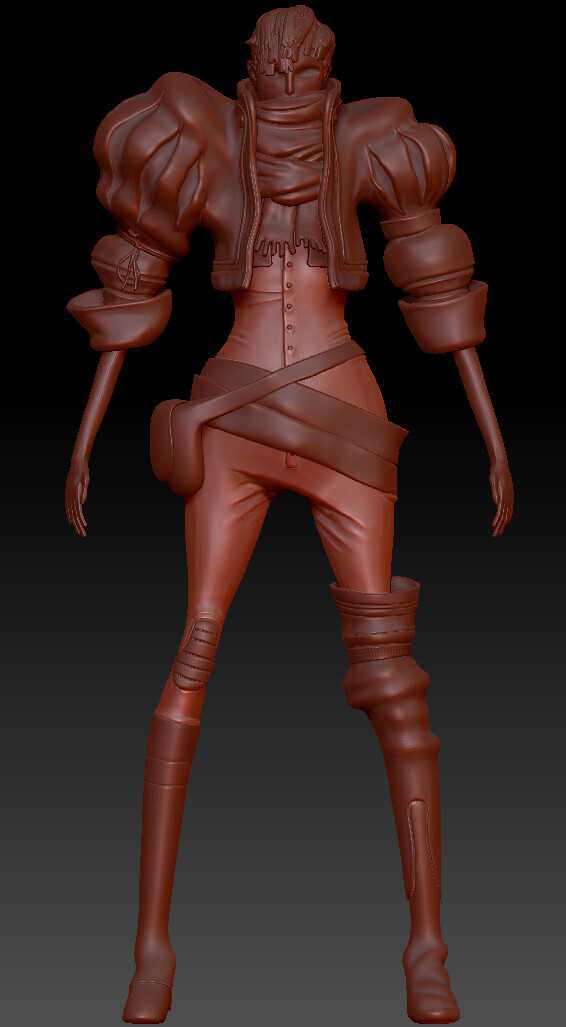
Early WIP sculpt
I shared work in progress images and took feedback on everything from hand anatomy to costume reference.
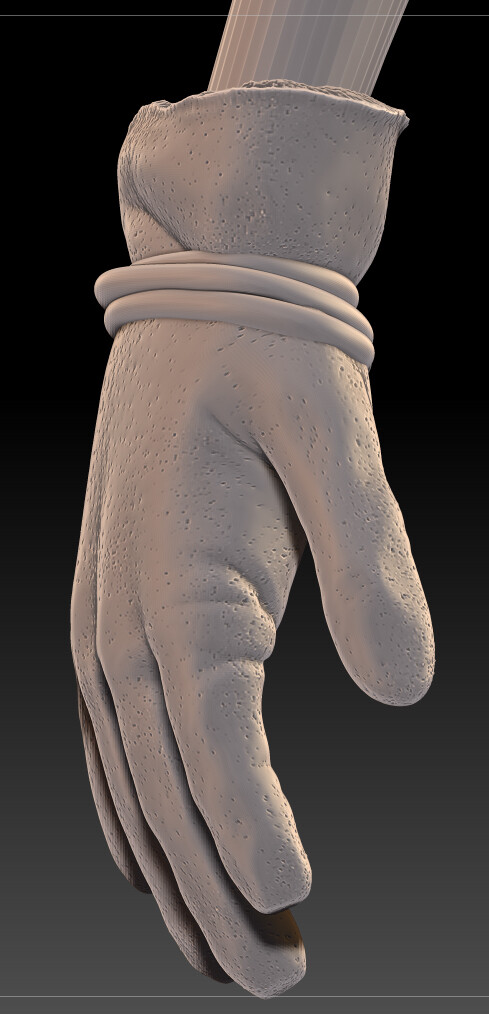
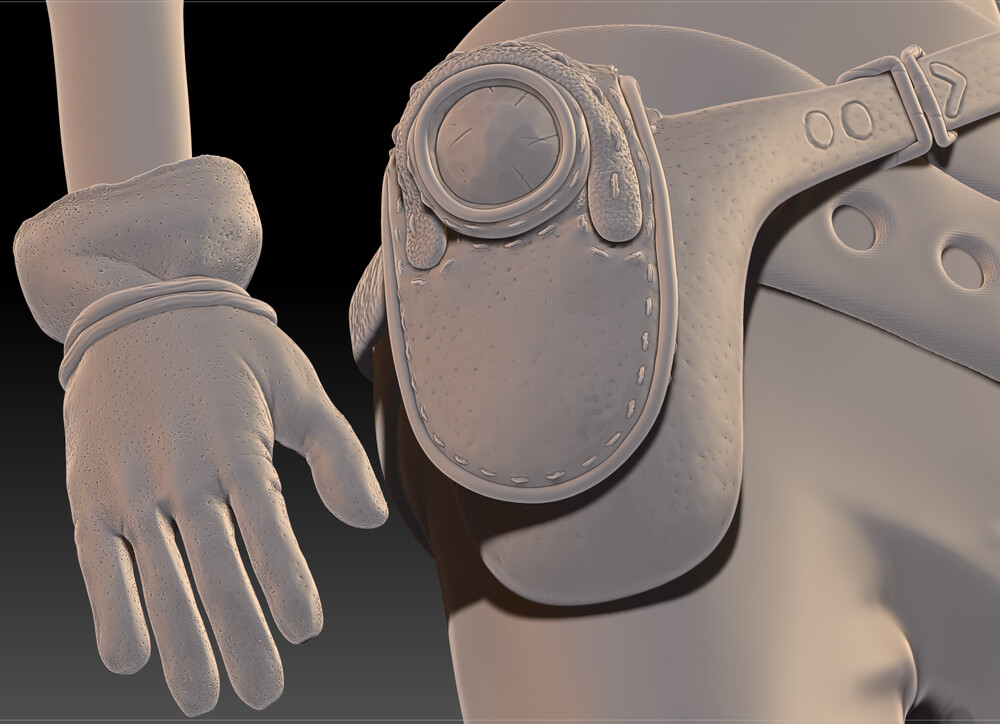
I used a ton of useful tools for these clothing details, which were by far the most fun to create.
- Panel loops helped me bevel in the slashed sleeved effect after I'd created polygroups where I wanted them.
- insert mesh brush combined with curve settings helped my lay out lace over the surfaces
- zproject brush allowed me to fit flat designs onto curved surfaces, like the one below on the jacket back.
- Created a few custom gradients in Photoshop to use as brush alphas. This tutorial is incredibly helpful.
- Used the rope brush from Bad King to create nice Sgt. Pepper shoulder nooses.
- Use the some of the default human ztools to get a head start on heads/hands etc.
- Frame polygroups with curves to run lengths of thick braided thread down them, nicely lining each sleeve slash.
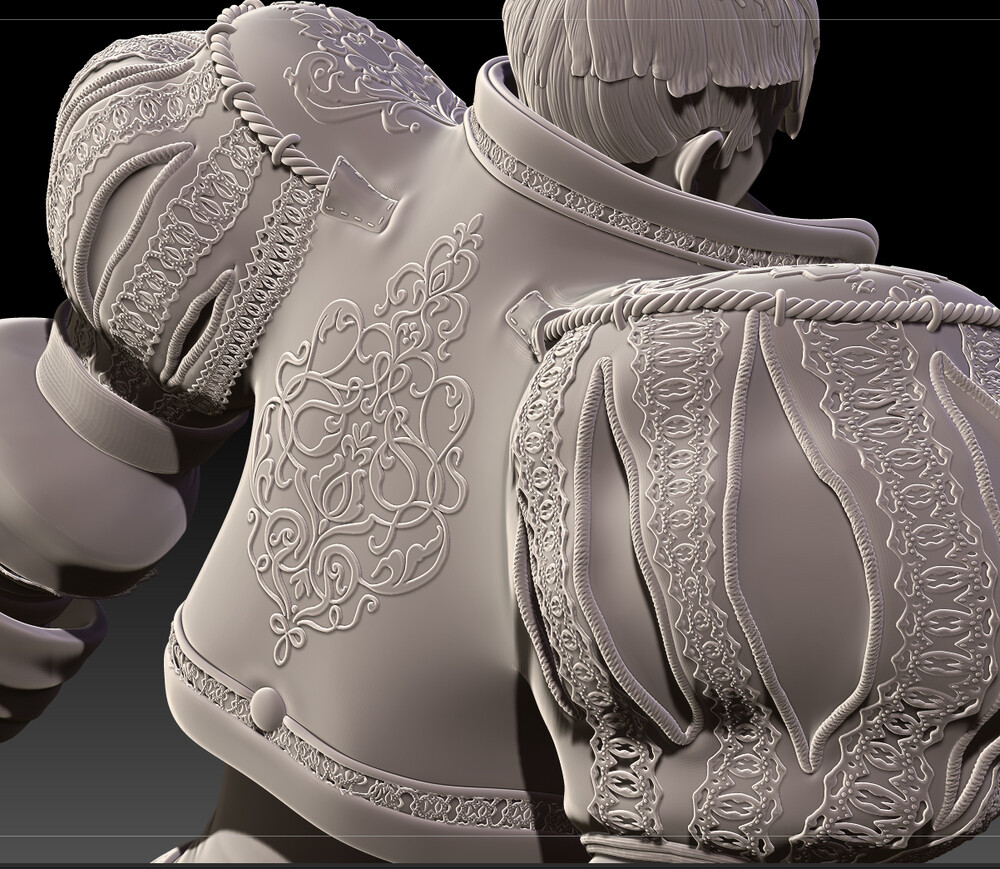
For the hair I looked up a couple of techniques, but settled with the curve snap brush. This tool, when you lower the brush intensity down from 100, gives you a flattened cylinder that you draw out across the scalp. Each strand is its own mesh and has its own polygroup, meaning that when you use the move topological brush, or mask by polygroup you can sculpt and arrange each strand individually. One thing I probably would have done differently is tapered each strand slightly, as the uniform width of each hair strand here gives it the appearance of fabric rather than hair I think.
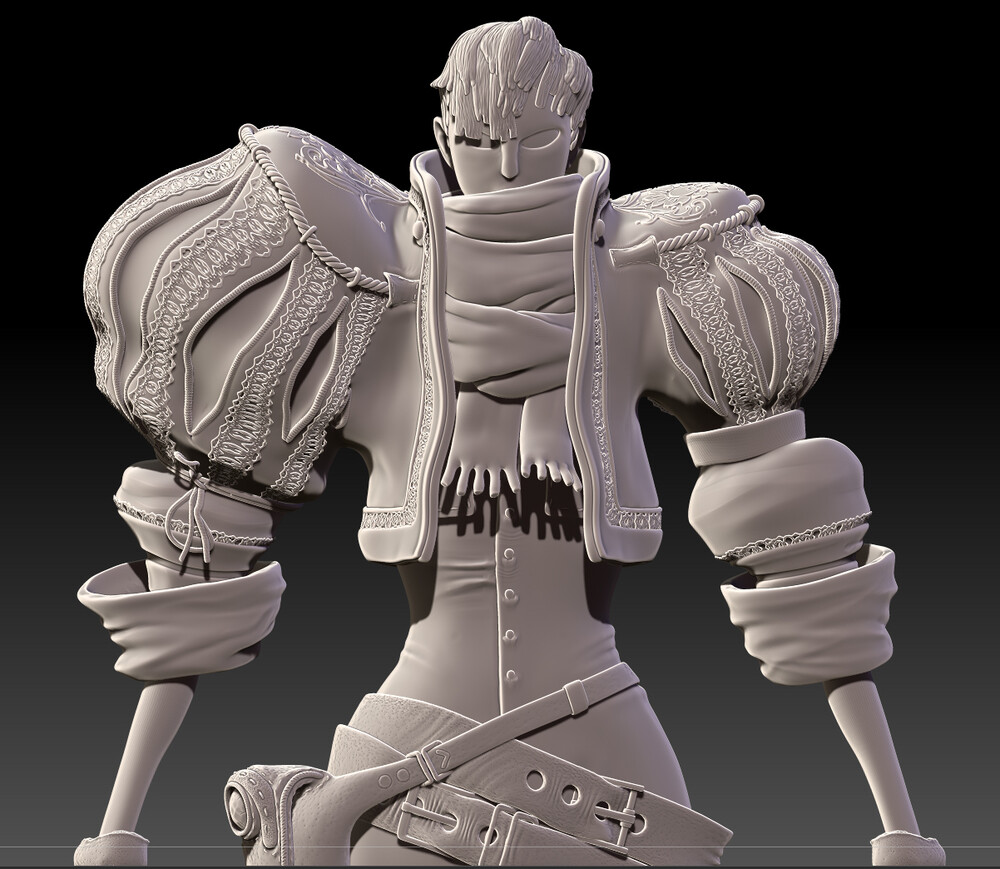
This was the final sculpt before texturing:
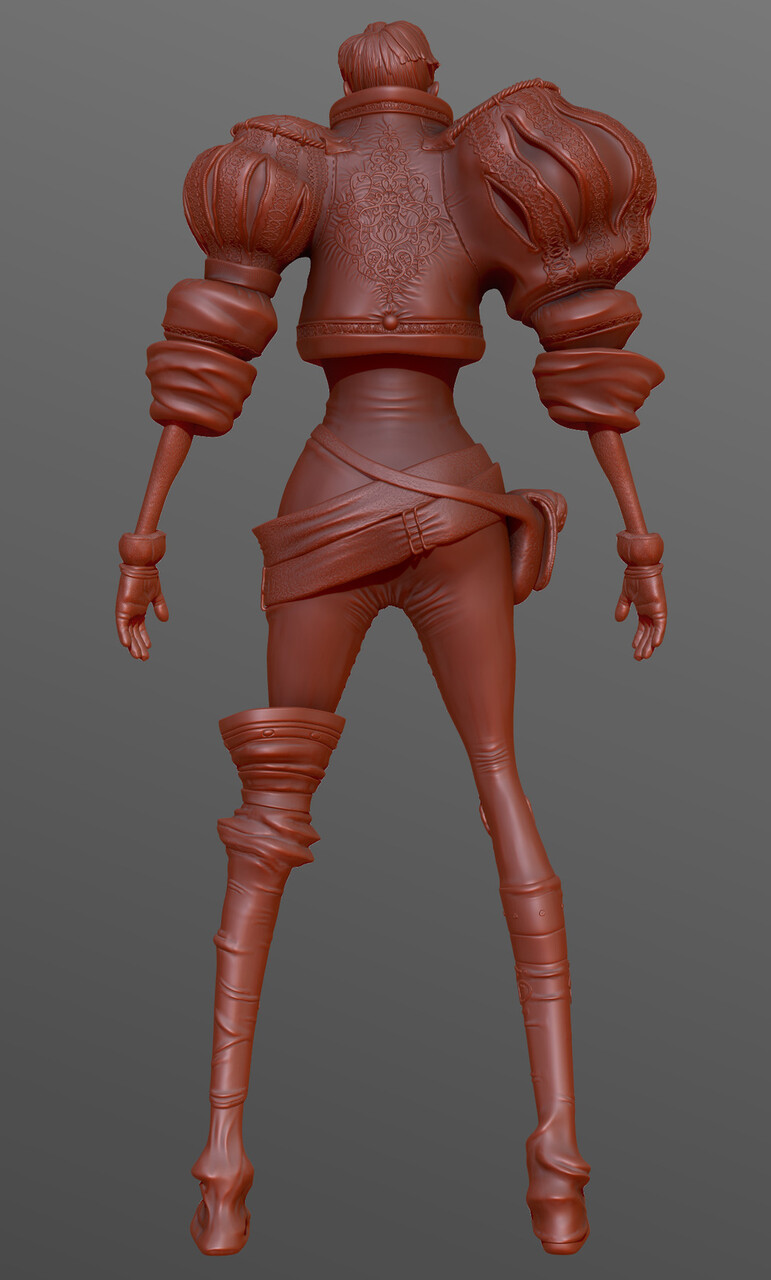
For the texturing process I used the Quixel Suite, specifically dDo.
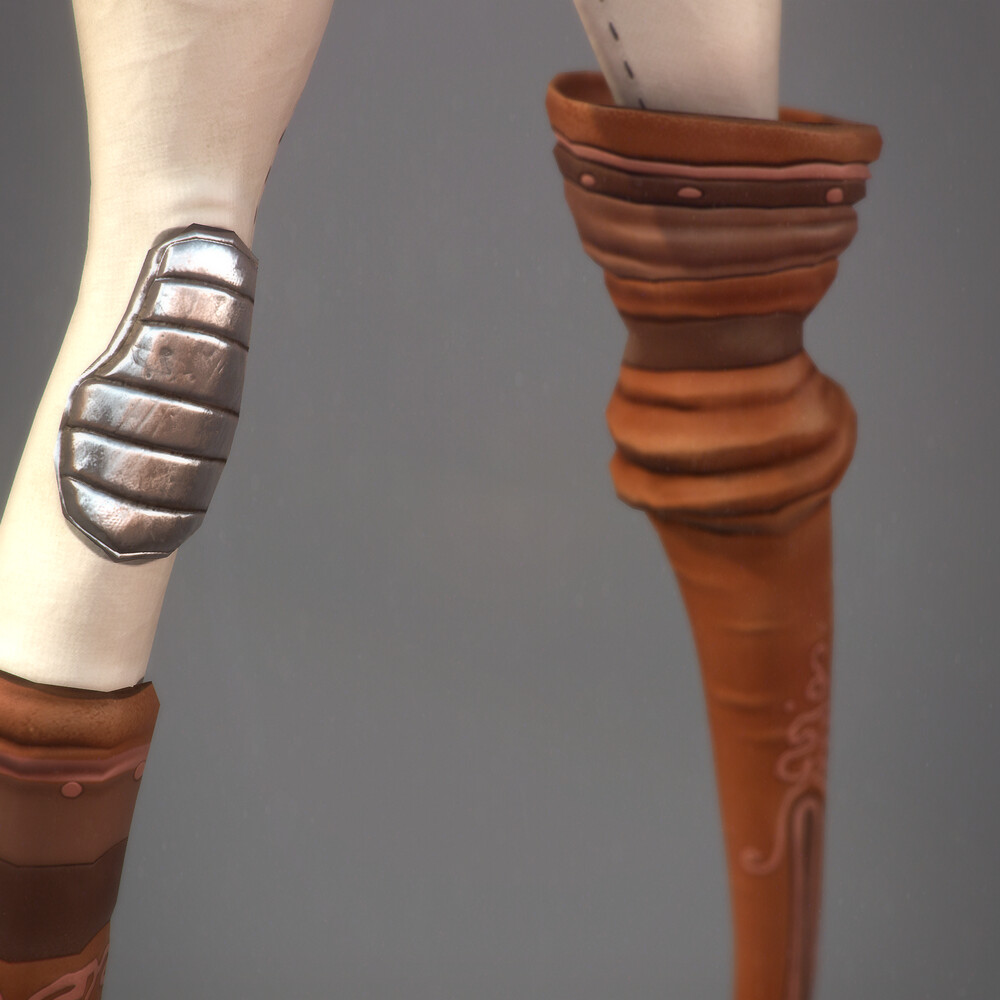
dDo takes all of the texture maps you export when baking from high poly to low poly, the normal, object normal, ambient occlusion, material IDs. Even more obscure things like gradient maps used for masking. This allows you to create textures using their library of materials and mask them based on details of your sculpt. Say you just want the fabric to gather dirt in the creases, or exhibit wear and tear on the edges, or be sun bleached only on the upward facing areas? All doable, quickly, and non.
I was attempting to bake the maps in a way I wouldn't usually. Normally I would do this all from inside zBrush, but I had separate pieces of geometry I wanted to bake as part of the geometry below it, meaning I need to use turtle in Maya to bake using a raytracing method. This worked better than I expected but still created a number of visible glitches in the displacement map, unfortunately.
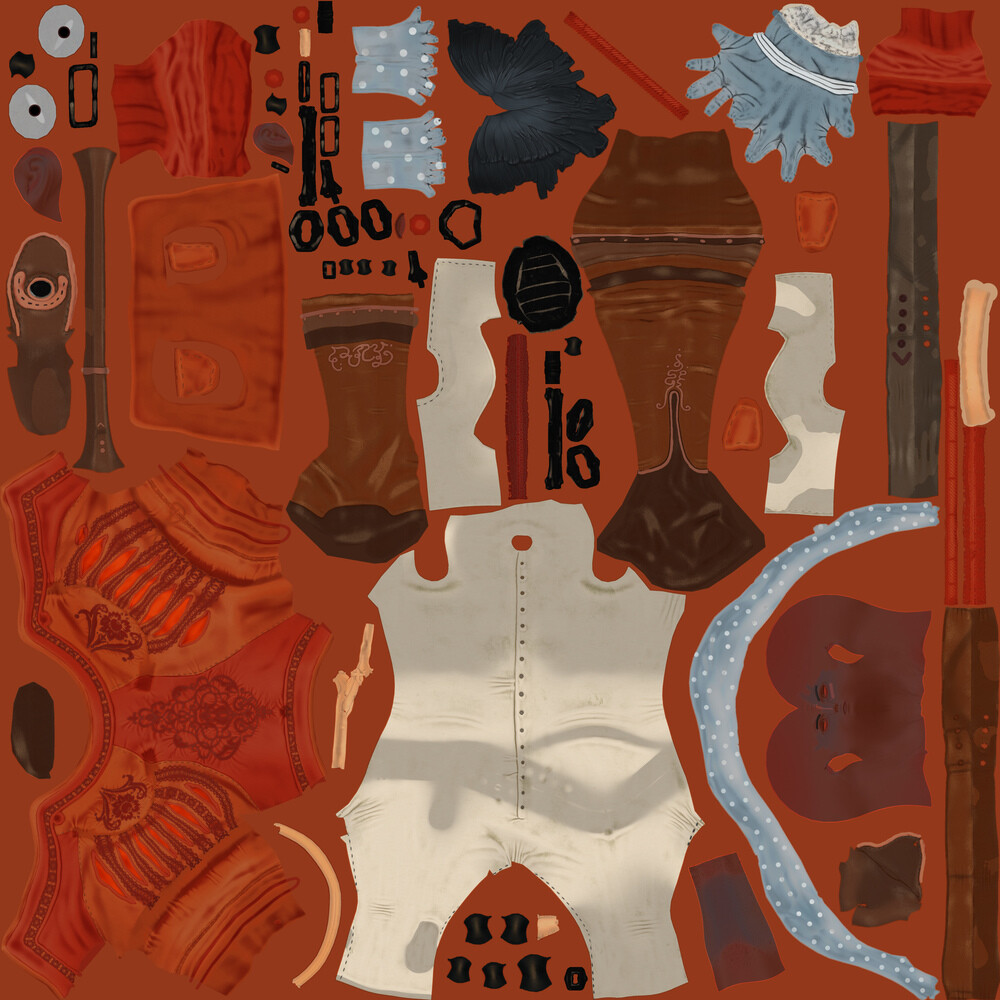
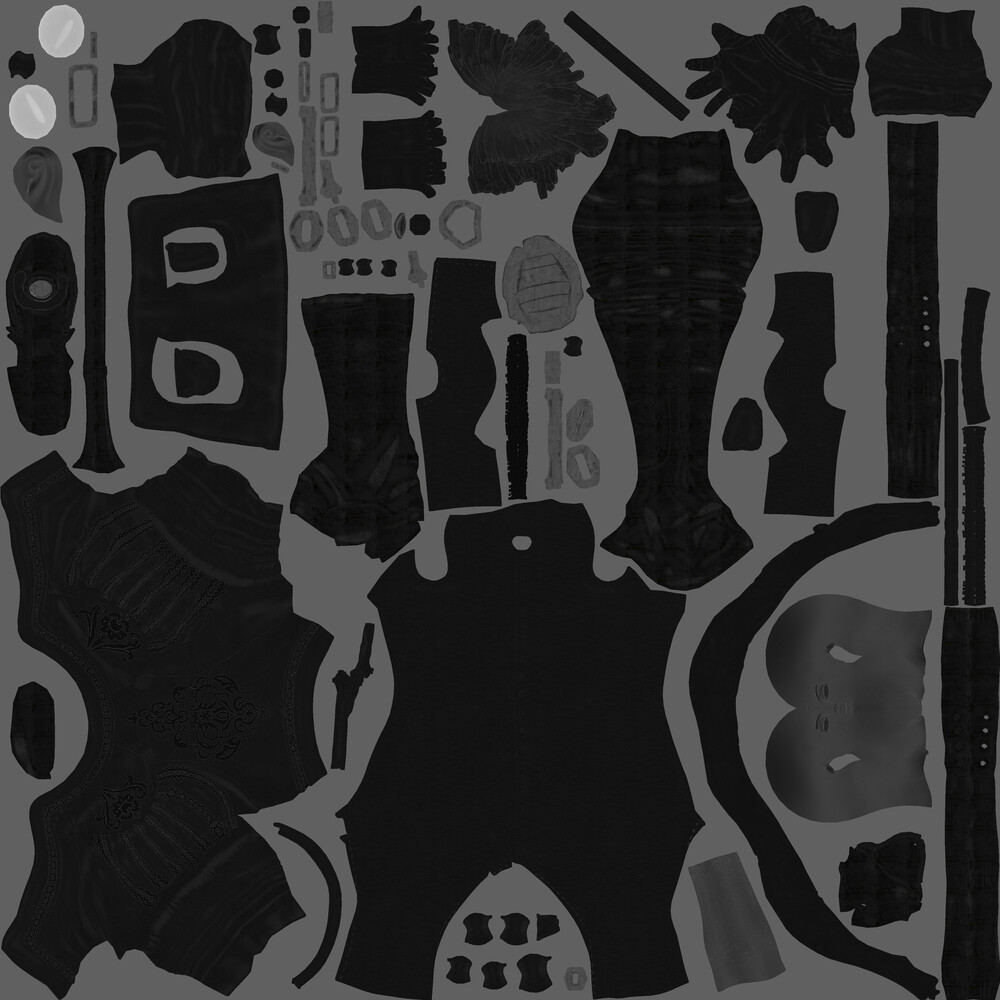
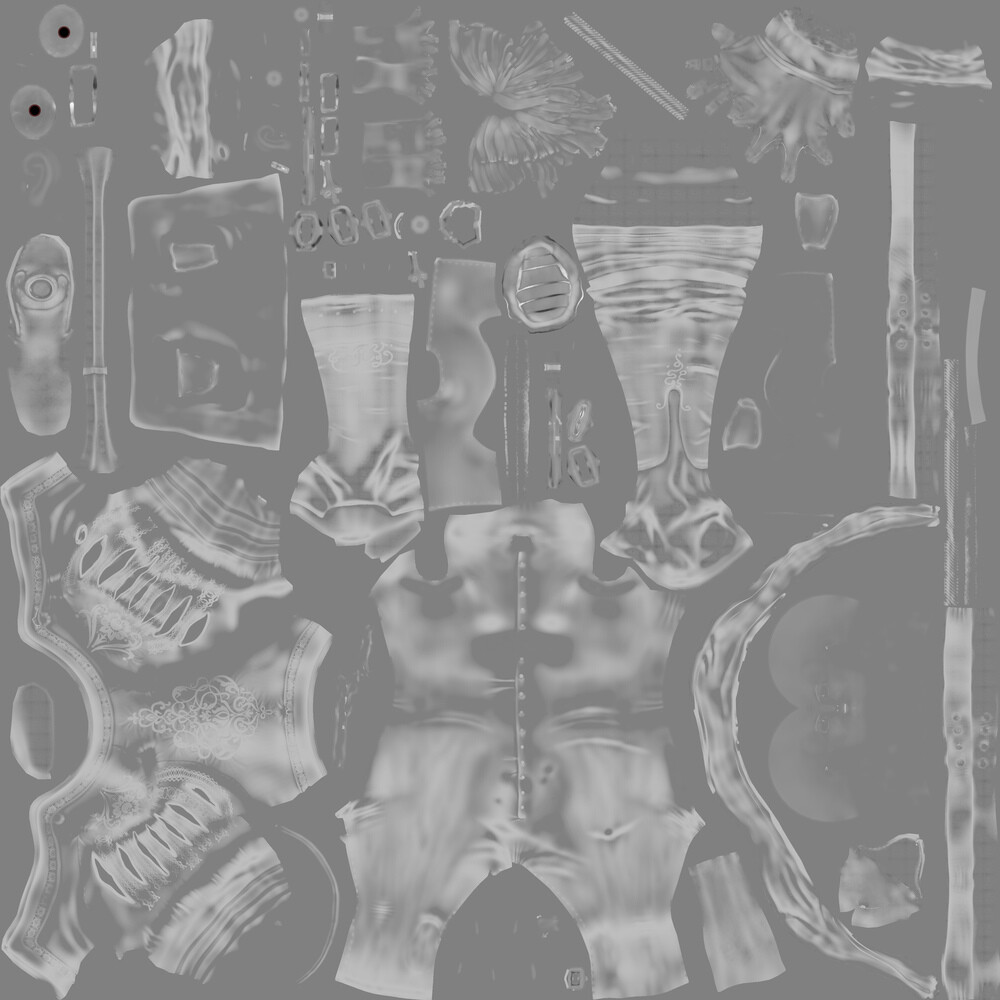
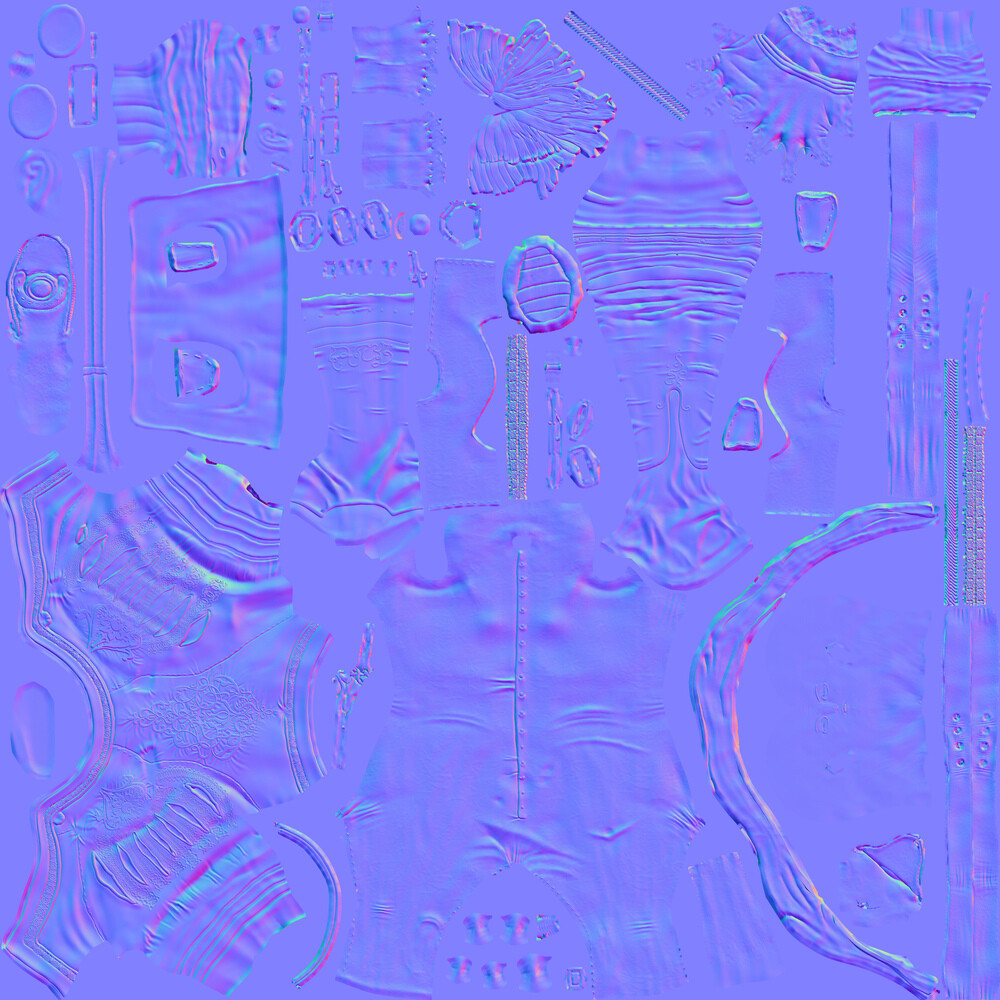
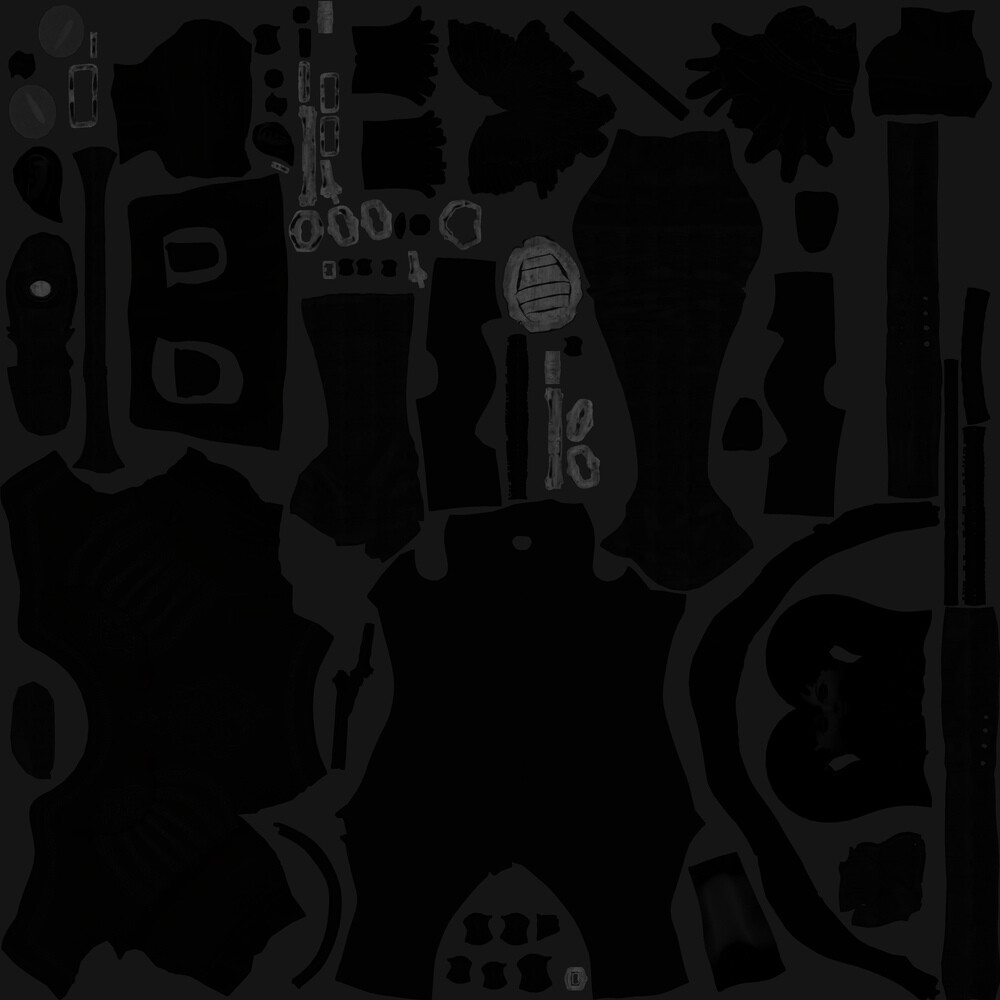
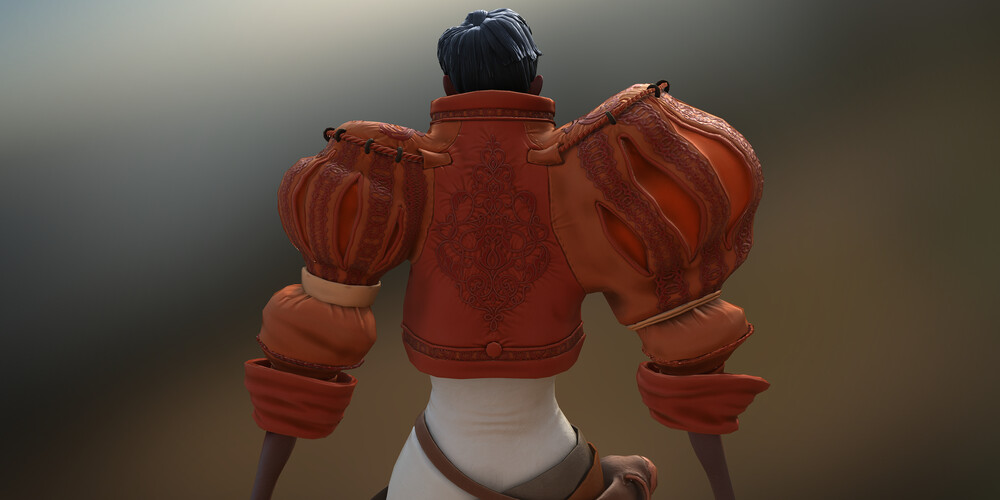
The Quixel Suite's real time preview- 3Do, allowed me to view texturing changes from different angles, in varied lighting conditions, and make tweaks with minimal waits between changes. It turned out that specular and gloss attributes required significant adjustment in Vray due to the way fresnel effects a shader's reflectance values. I still have things to learn about the workflow, and the proper compatibility settings for offline renderers needs to be made clearer in the documentation.
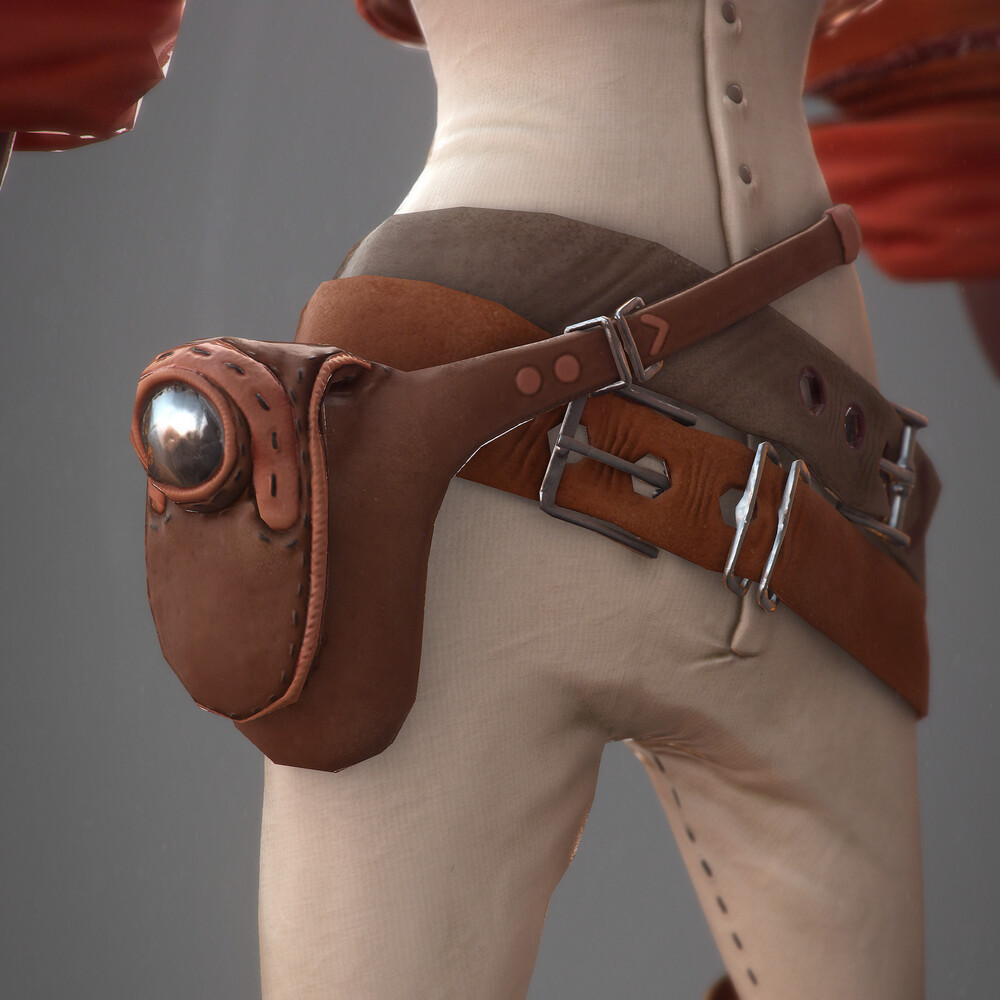
Again, please take a look at the final project using the button below.
See SleeveKnight