
In the slow and ongoing, but usually satisfying, learning of zBrush I decided that working on a character project in my downtime would be a good way to go from one end of the process to the other, learning all the bits in between that I hadn't covered yet. Its taken forever, and even as I render the last few frames for this project I'm looking forward to starting the next and doing it ten times better, just because the first time, you spend hours grappling with the simple stuff often enough. Like why is zBrush's import/export scale so uniquely broken?
Concepting (?)
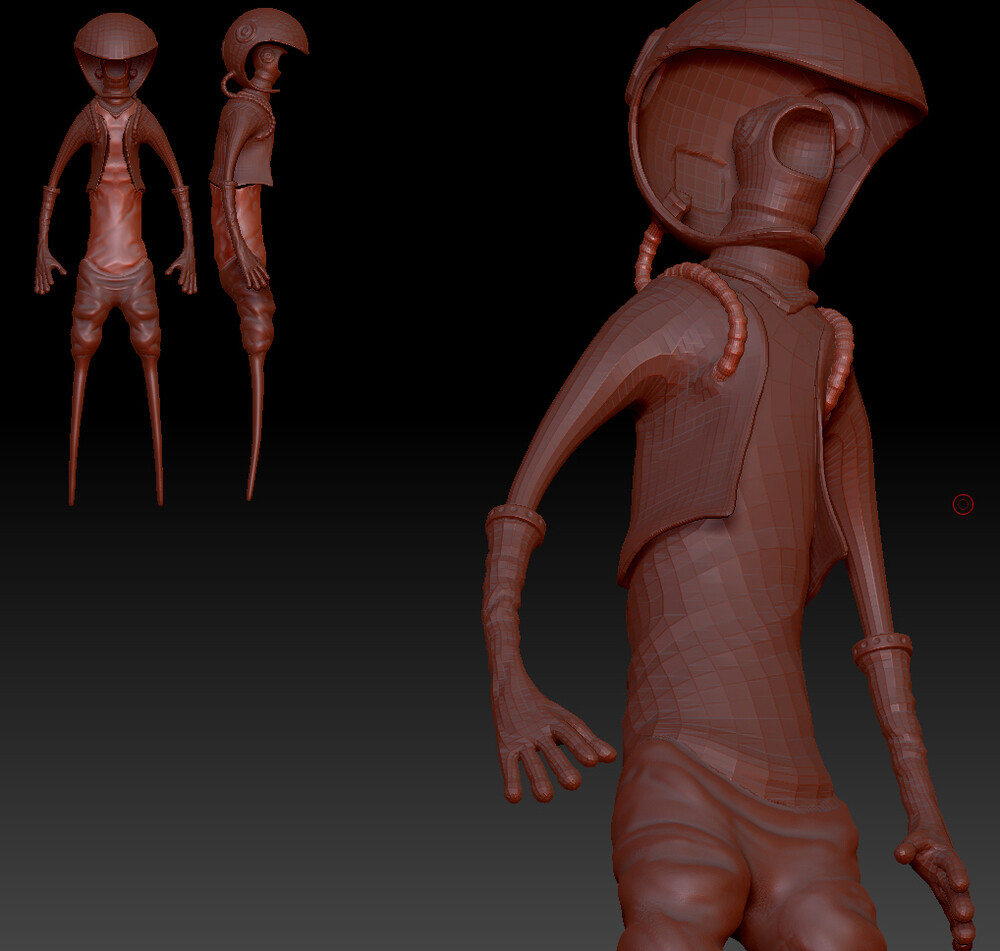
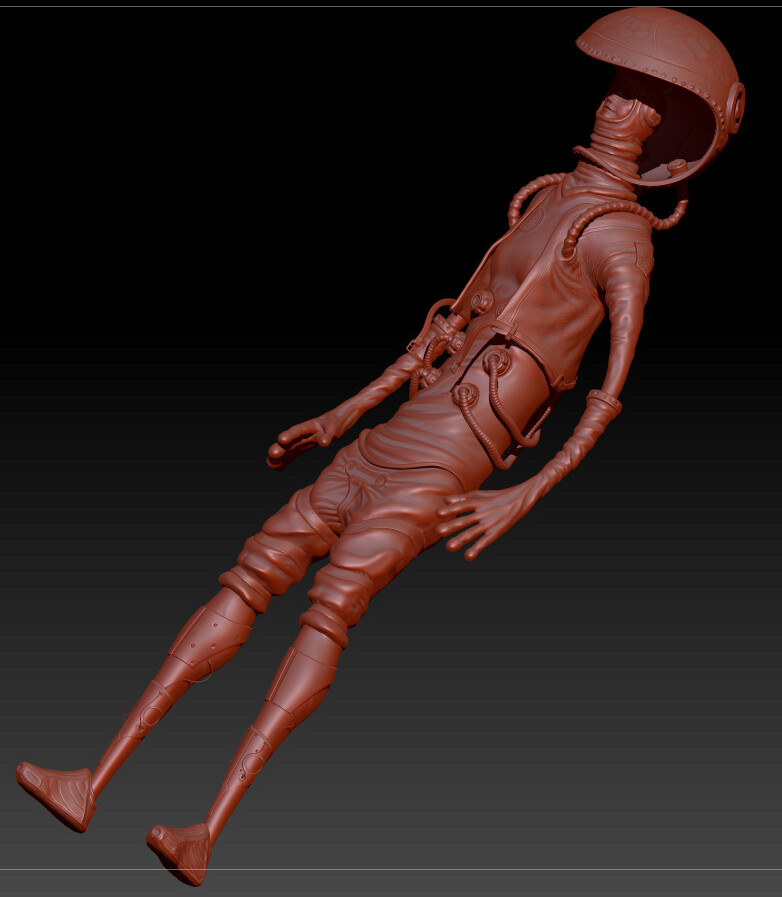
So I started with a zSphere, drawing out limbs and creating a rough figure. Pretty soon after turning that into a mesh I had this.
Its weird writing this up retrospectively, I mean its always retrospective, but not usually with the whole thing completed and with knowledge of every part of the project and how it turned out. This feels a bit Blue Peter.
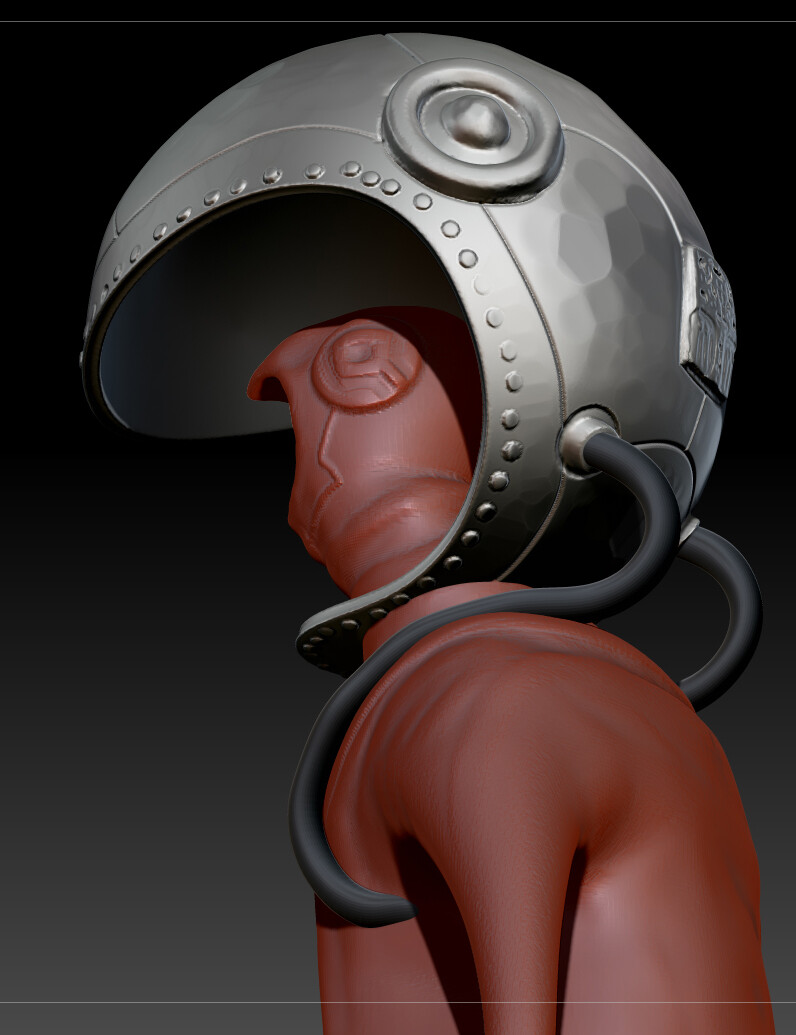
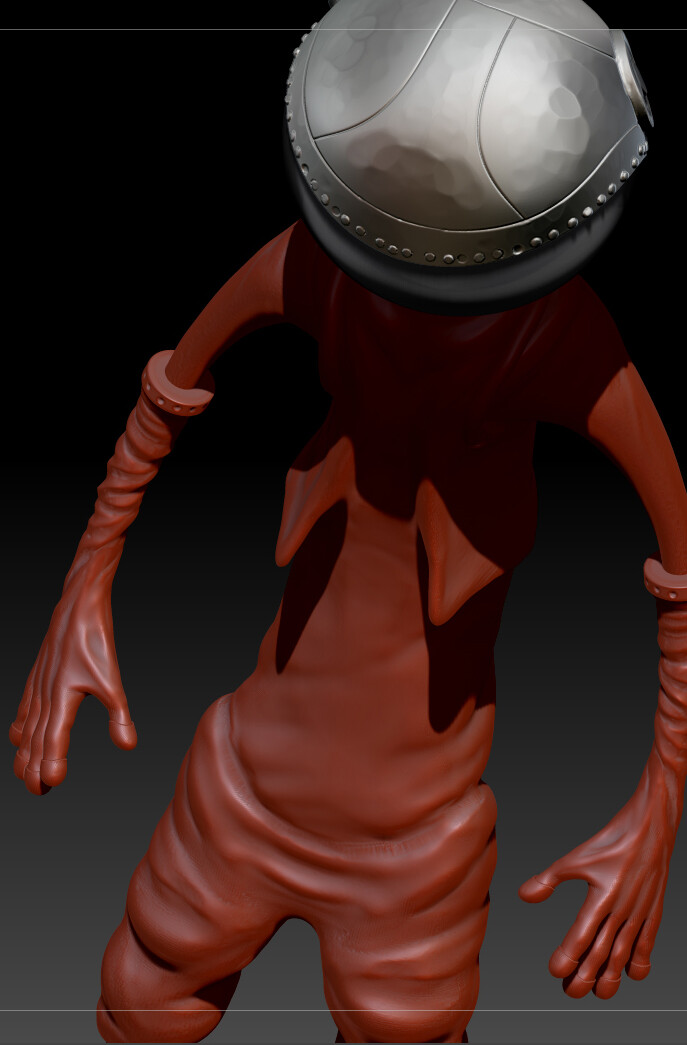
I did a fair bit on the helmet and hood areas early on, sculpting in what I thought might look good. Adding little details on the ear casings, almost like large headphone cups, toyed with the idea of adding in a "Britney mic", but it was too early for that kind of detail. Wish I'd come back to that.
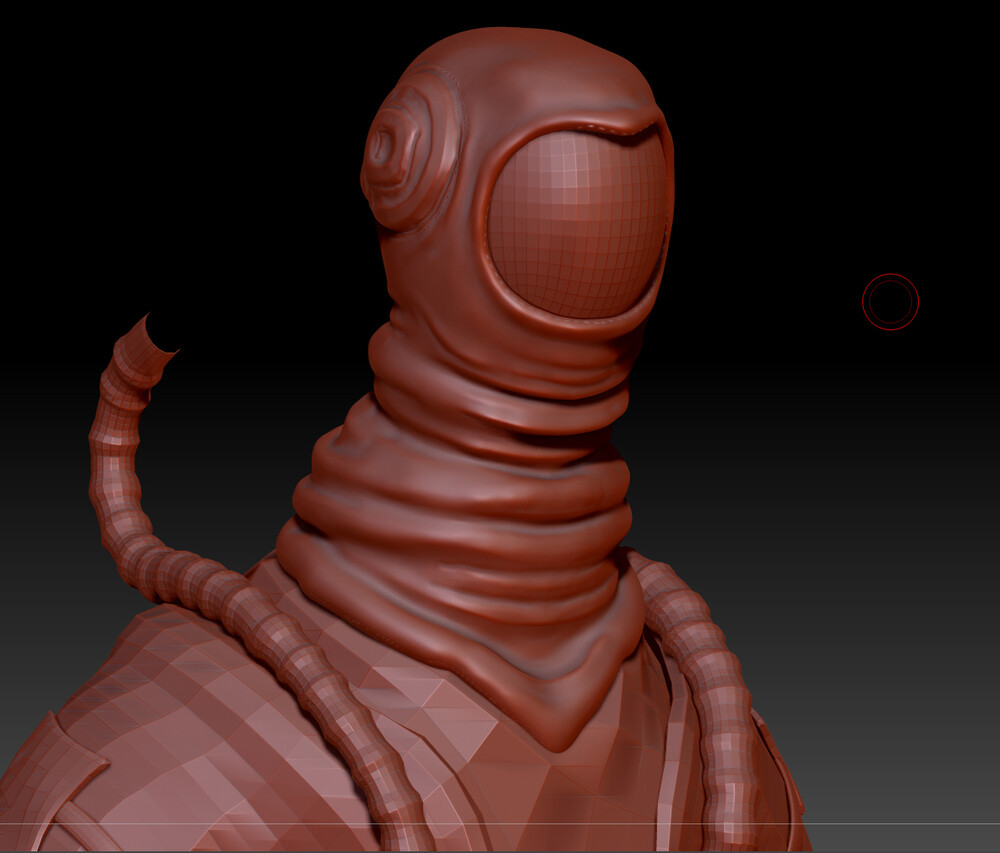
I rough in two ventilation tubes using the armature brush in zSketch, its the least thought out breathing apparatus you will ever see, it appears to funnel air from under the armpits into the helmet, or maybe its dead air coming out of the helmet to cool the armpits? But then where's the in take? Or oxygen storage? I'm sure its stashed under the jacket somewhere. I had gathered some reference by this point of what I wanted to aim for for some of the specifics.
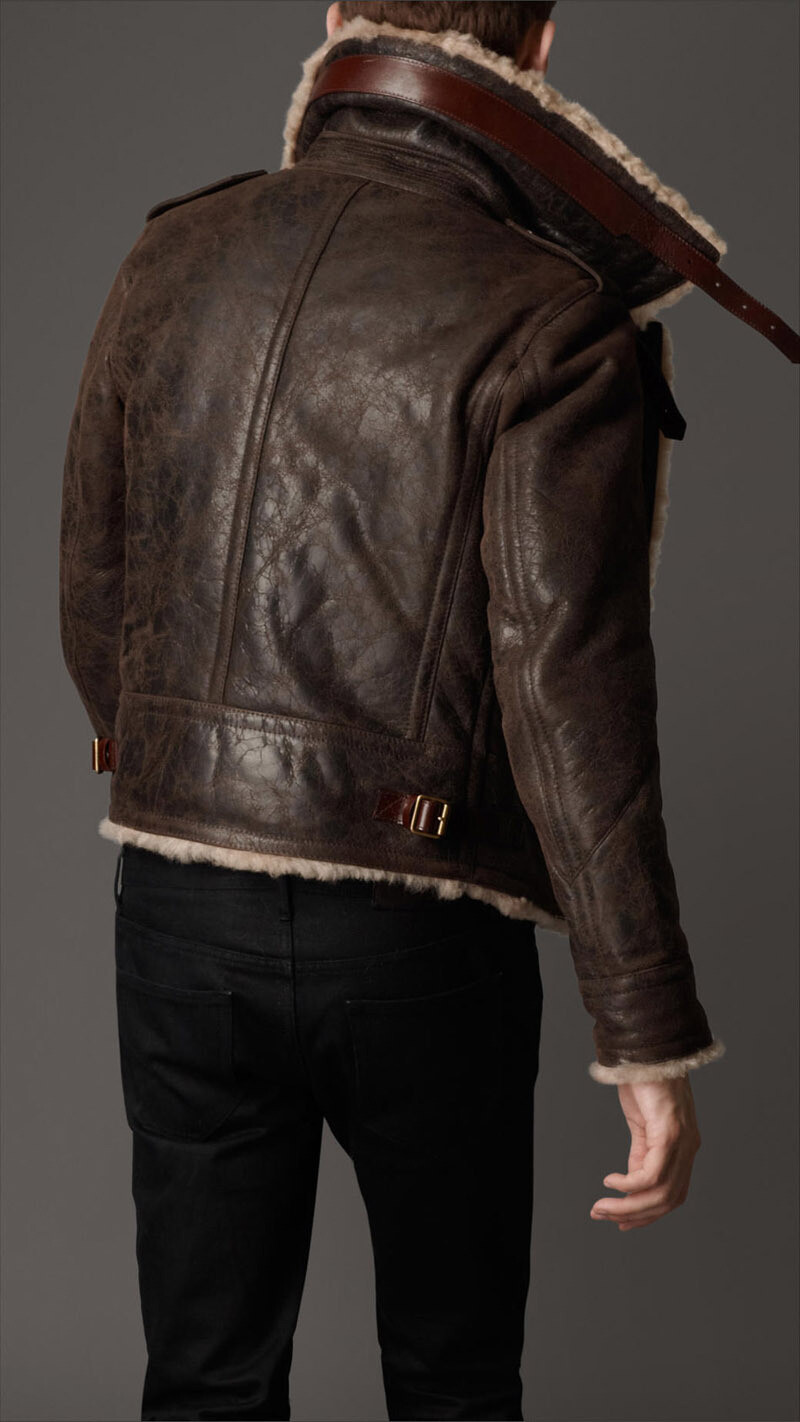
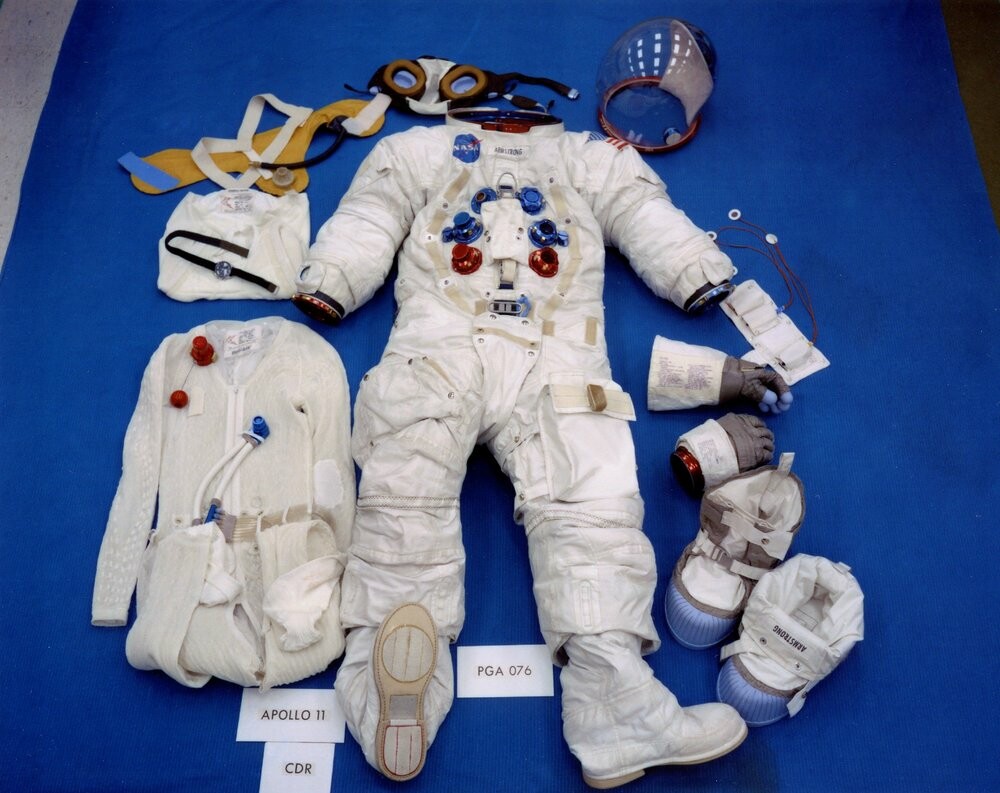
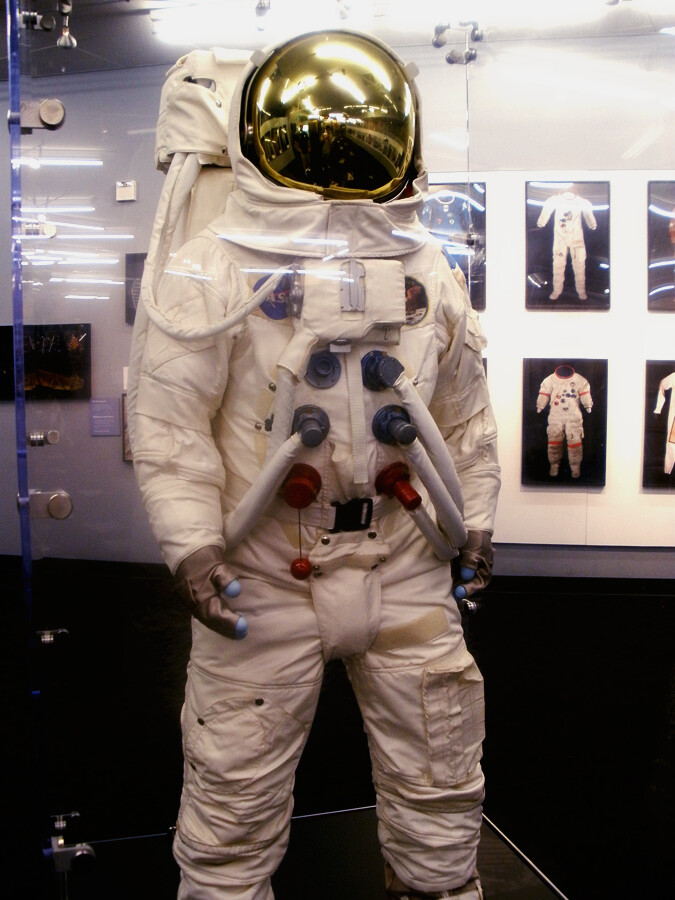
Reference
Scuplting
At the start I was sculpting everything using brushes which means everything has a sort of hand made look which is ok, but I could have saved so much time using techniques I picked up later. The rivets lining the helmet for example could have been stamped using insert meshes along a curve, or even alpha stamps with the stroke set to stamp at stepped intervals.

I had the whole body as one continuous dynamesh, guessing that this was a normal workflow and that I could cut up the pieces into separate subtools later. I was sort of right. I found out recently that dynamesh is actually effected by scale, so if you are working at a large scale (whatever that means in zBrush's constantly adapting and context-less workspace) then you can get much higher detail dynameshes at lower resolutions.
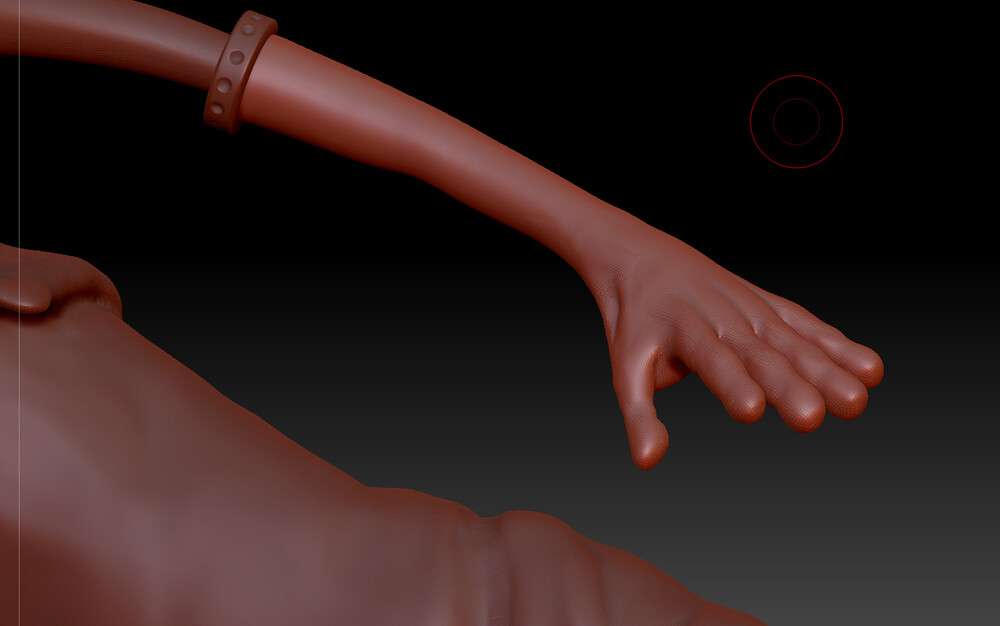
One of the tutorials I watched had a huge focus on anatomy, to the point of encouraging the viewer to memorise the names of muscles and bones in order to become familiar with their shapes and relationships to each other, really interesting, and it did help me add little details like the recess on the glove between thumb and hand, suggesting the shape of tendons within- but sculpted using the creases of the glove.
This is the part where I put in a punchy quote pulled from the article, to exude that glossy magazine style.— Olly
I found some problems early on with subtools I had dynameshed had their subdivision levels frozen. Not sure what this means, but when I untoggled this option to unfreeze them I got this fantastic result:
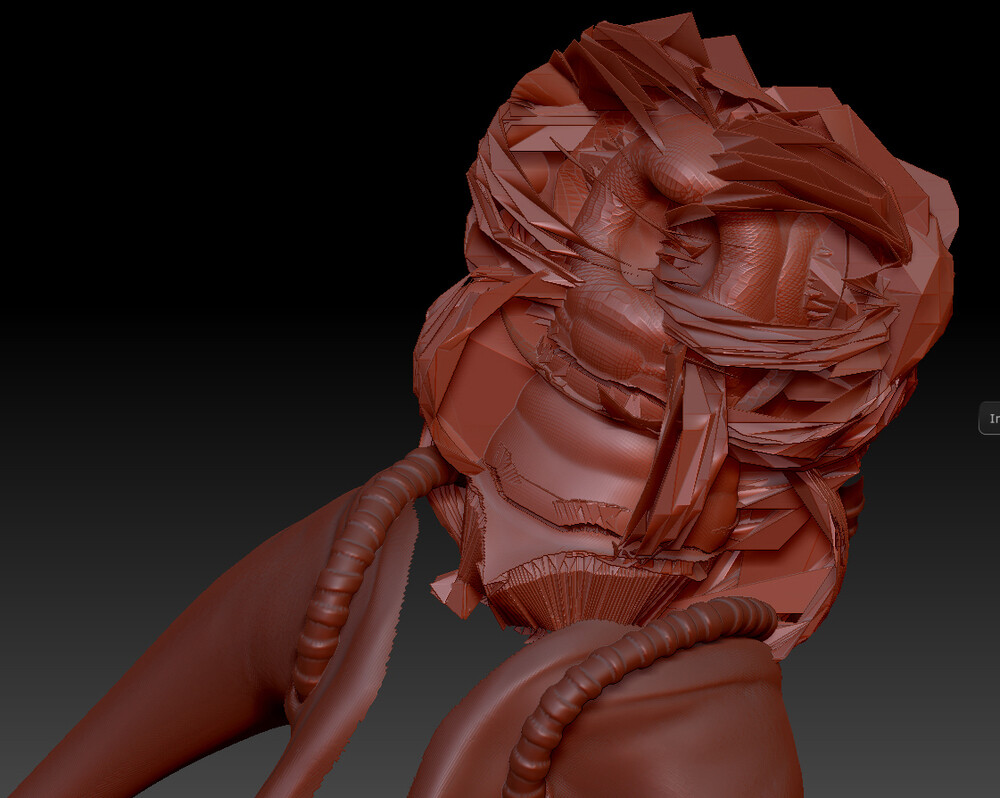
And this:
I never intended to deform any of the of the final meshes so neat topology wasn't a priority, I got this from using the zremesher once I was happy with the basic form I started going in and adding finer details like stitching and damage. As is my usual mistake I took the shortest route possible to the part where I get to focus on the details, I didn't really iterate on the silhouette or shape of the character. If I had done, I might have realised that while the head and helmet proportions were hilarious- it would later mean that the face wasn't very readable from even a small distance. Tiny, tiny face.
Face
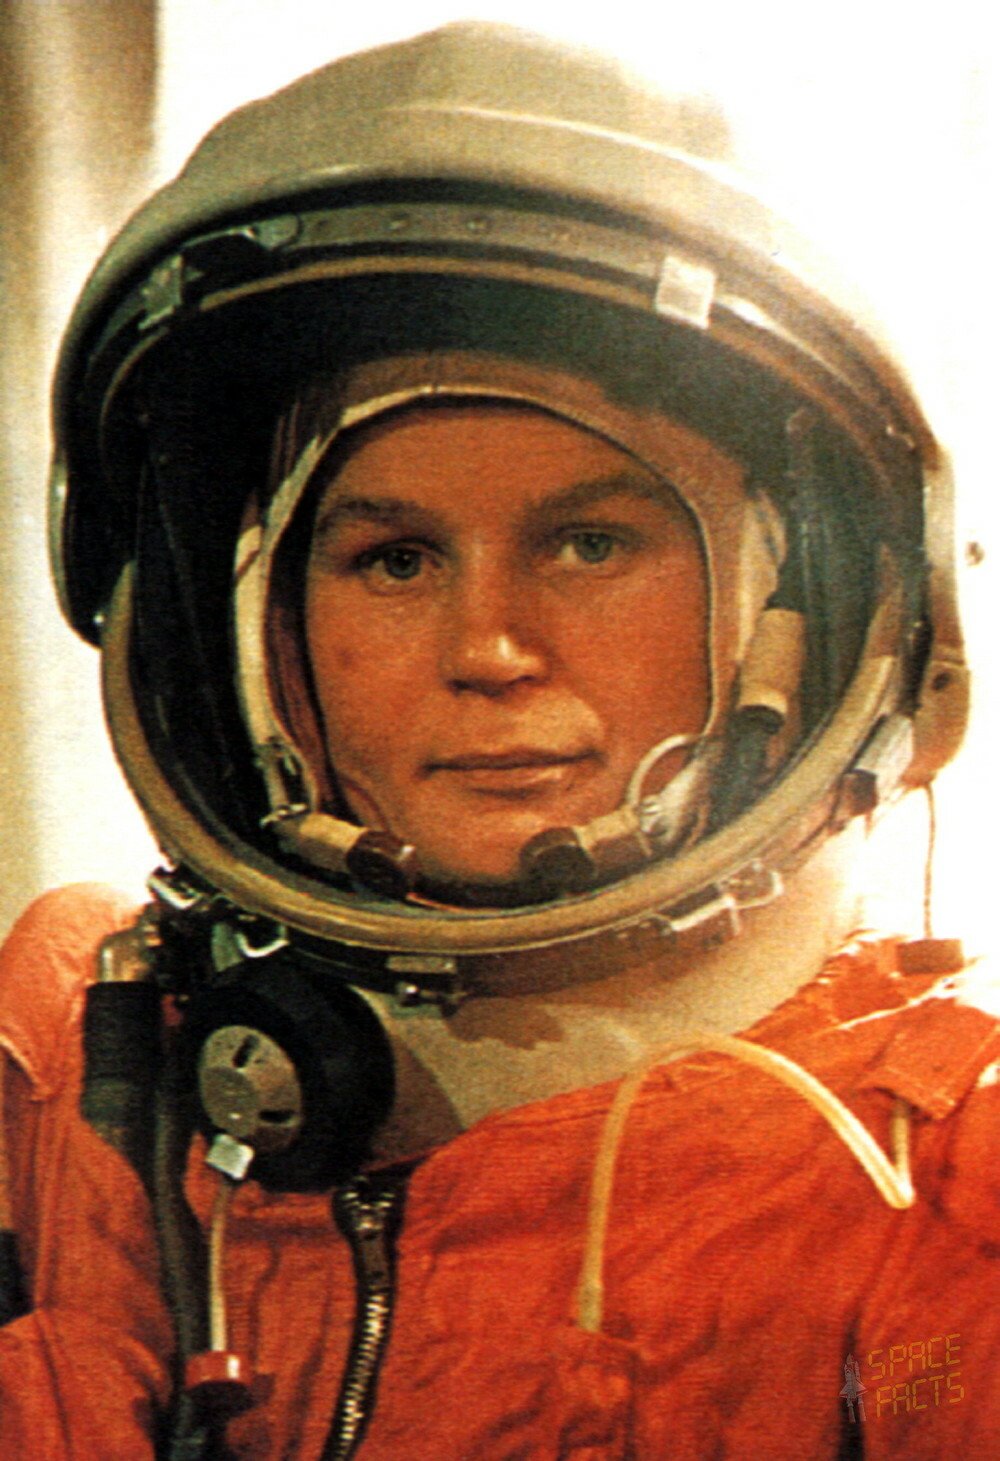
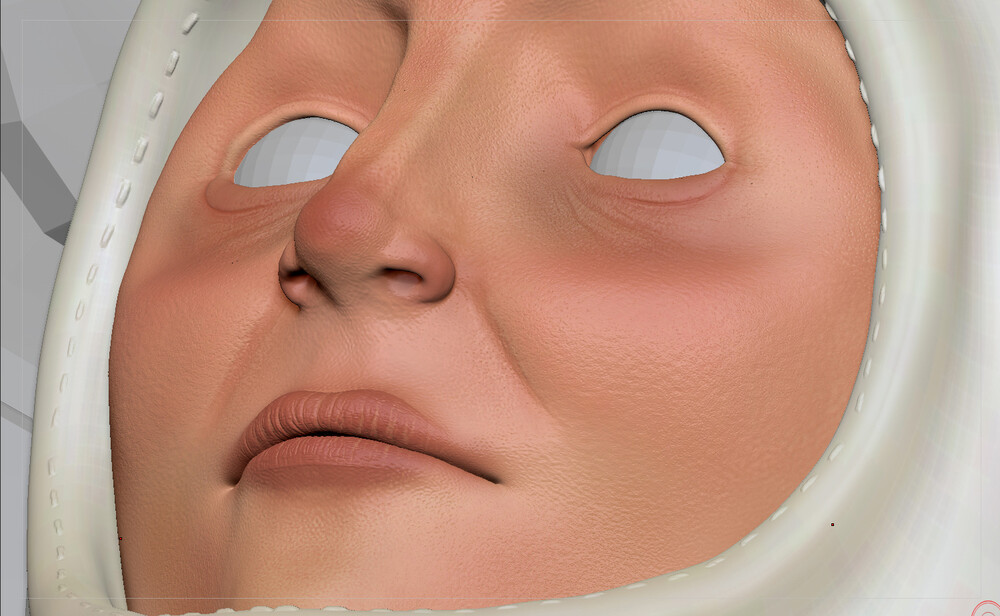
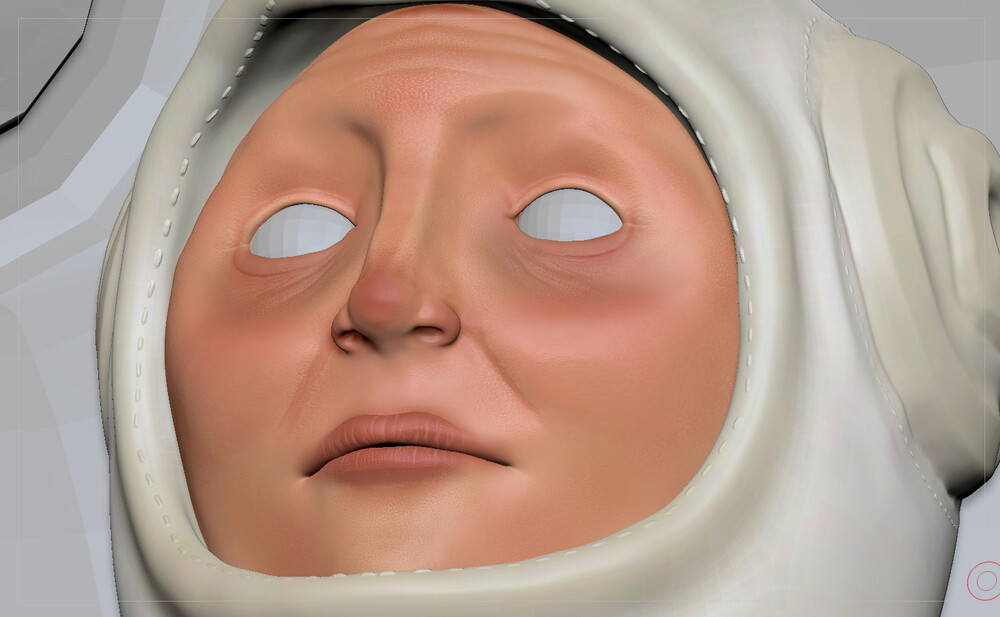
I wanted to make a lady astronaut, so I was doing some research and thought that Valentina Tereshkova had a great face, and an incredible history. I found the image of her from her heyday, that I thought most clearly showed her features. It was the Russian space suits that had this iconic orange colour. I didn't really use the photo for reference for any of the gear on her helmet, but the number of metal bands, tubes and dual microphones(?) is fantastic. Off centre zip too, classy.
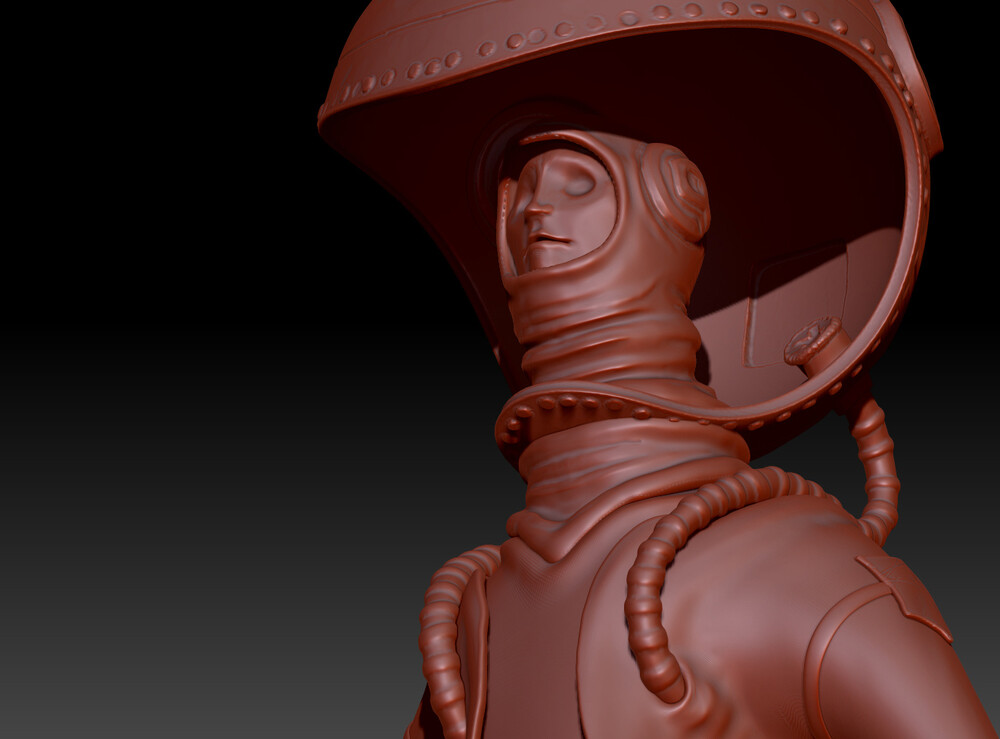
The face is definitely the part that went through the most reworking, every time I'd come back to work on the character after a break: the face would look wrong, and I'd go in and make the cheeks fuller, make the mouth bigger, give her a chin. Some of the screenshots below are from later on when I'd started texturing the skin, but you can see the kind of pore and wrinkle detail in the sculpt that I had fun achieving.

Detail
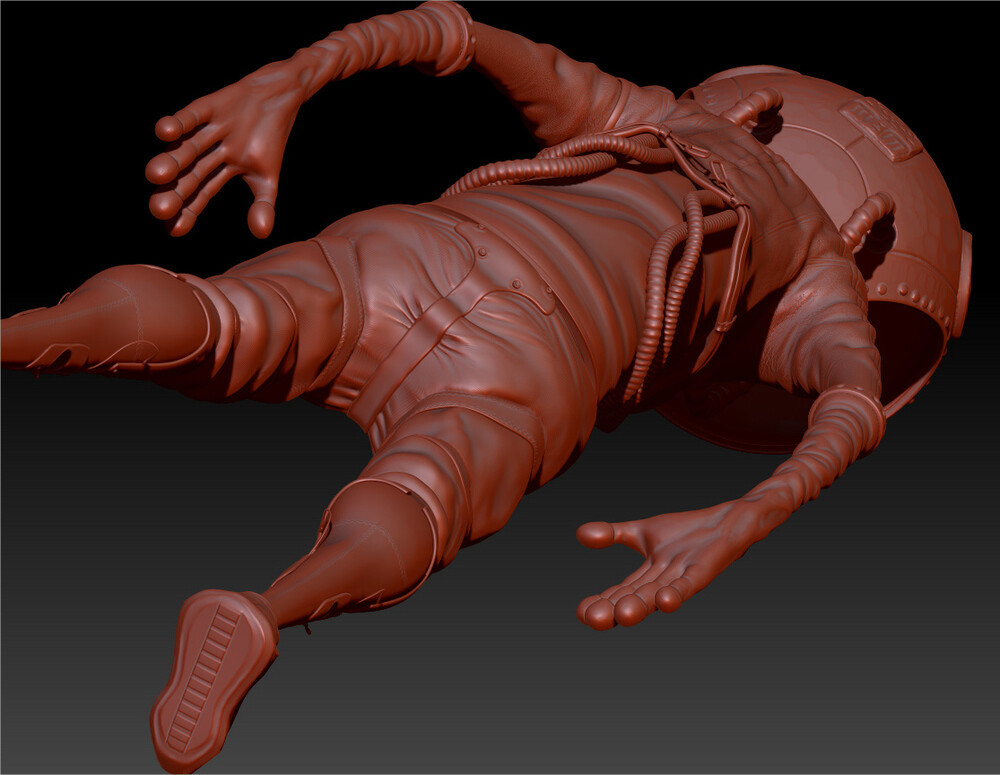
I spent quite a while browsing the fantastic Bad King website looking for insert brushes. That's where I found all the little straps and belt loops to line the hem of the jacket.
I also created a nice stitch stencil that I could stamp along hems, you can't see it so much on the jacket from this angle but its there, hiding.
THERE IT IS! In the top of the glove, that tiny zig zag stitch.
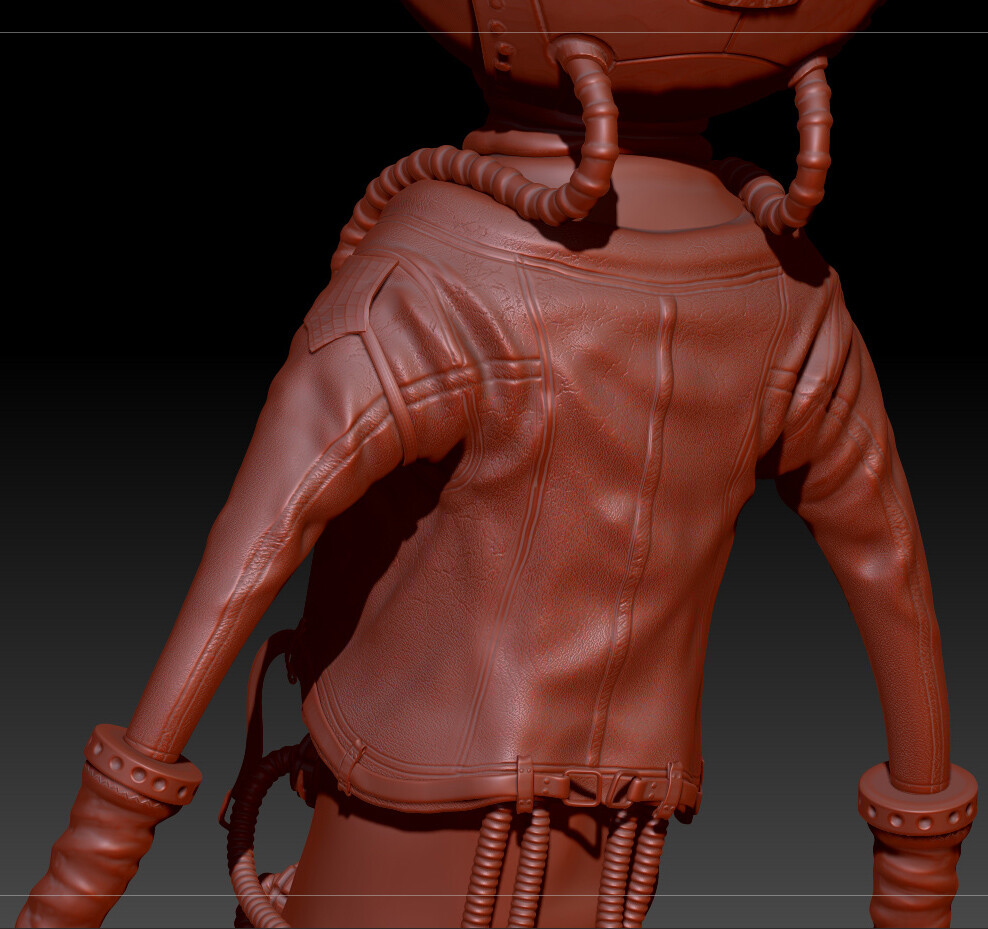
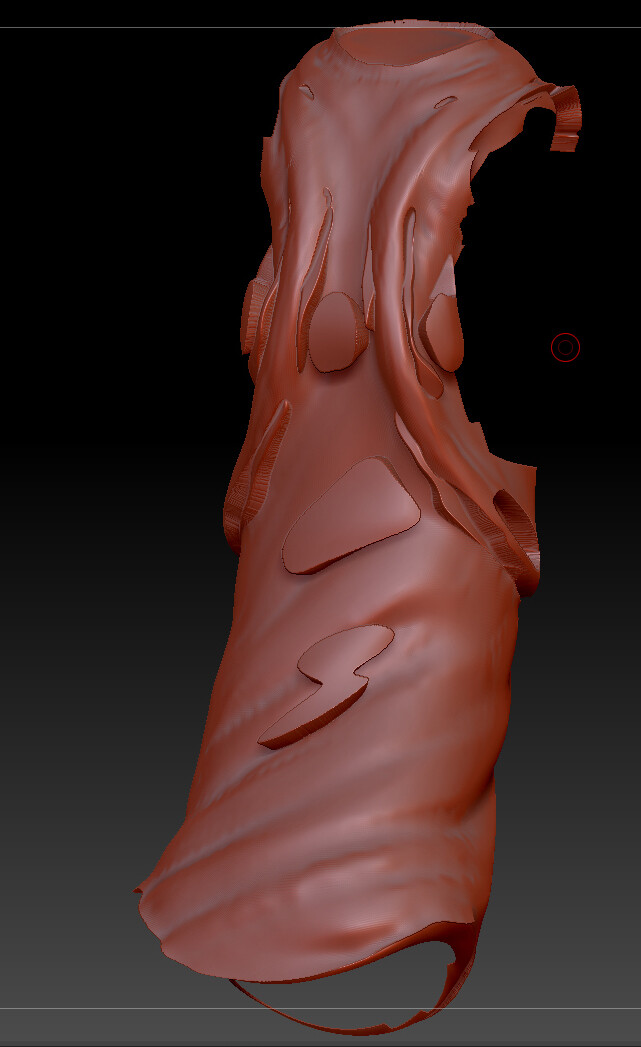
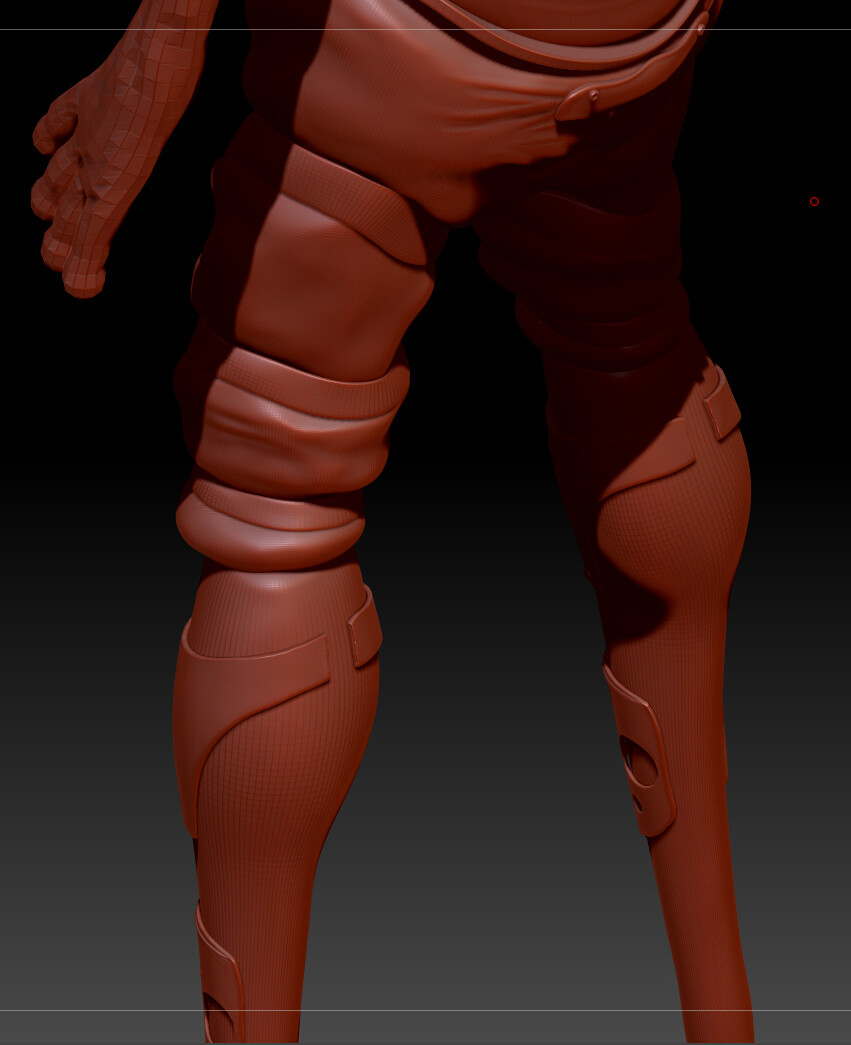
This was my first encounter with the h polish brush, a wonderful thing that acts almost like a sanding tool, shaving off the edges of a flat surface with hard corners. I was struggling to get a separation between materials, from hard plastic to padded polyester. This would have been much easier if I'd known how to use polygroups and panel loops at the time, tools that are perfect for creating nice separate meshes based on sections of mesh.
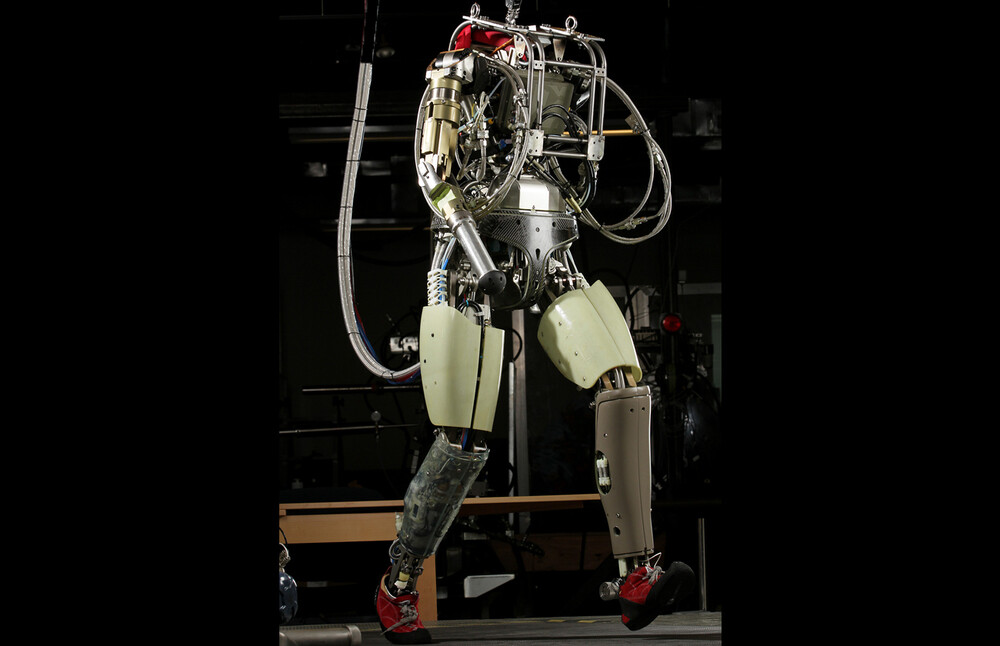

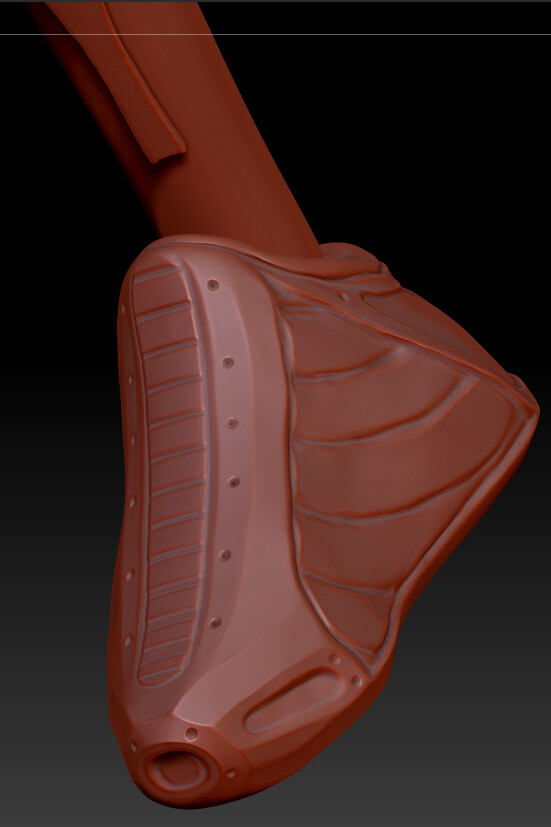
I had some classic Boston Dynamics image reference for the leg plate stuff, because I wanted a more exoskeleton-esque robo feel. Or something.
The materials I was trying to recreate was sort of a neoprene wet suit type material for the leggings, with the hard plastic shell flaunted so successfully here by petman -->
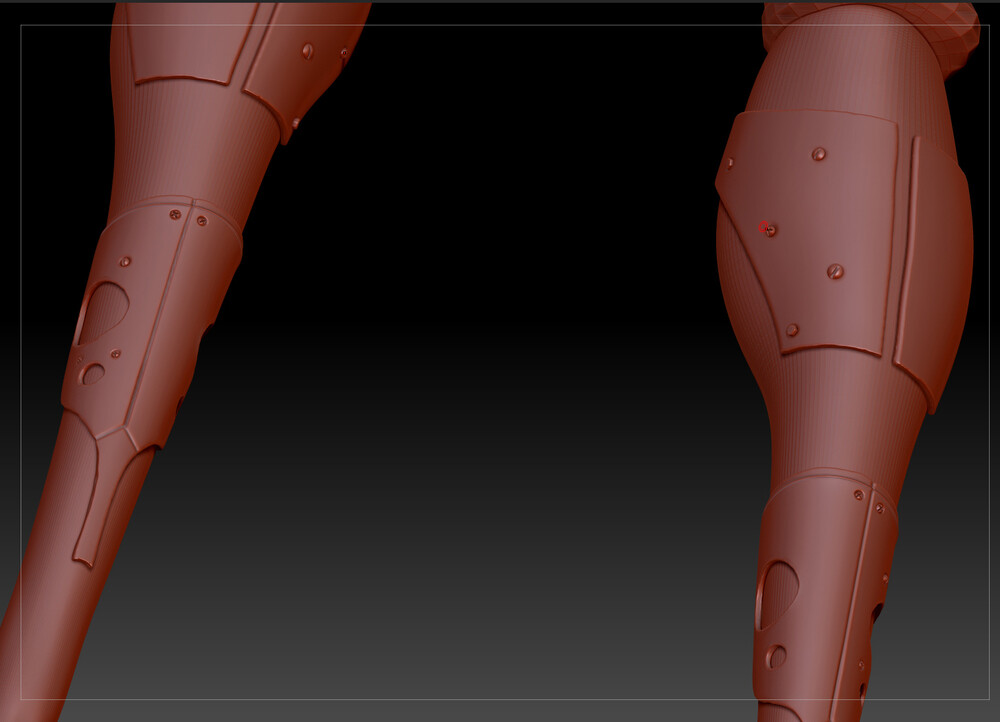
I used the insert mesh brushes again to stamp little screw heads across the plate, much like in the reference, to give the impression of floating plates, held together by small rivets. There's also am absolute ton of wiring you can see through one of the translucent casings, which I represented with just a couple of external wires connecting the plates cut out sections.
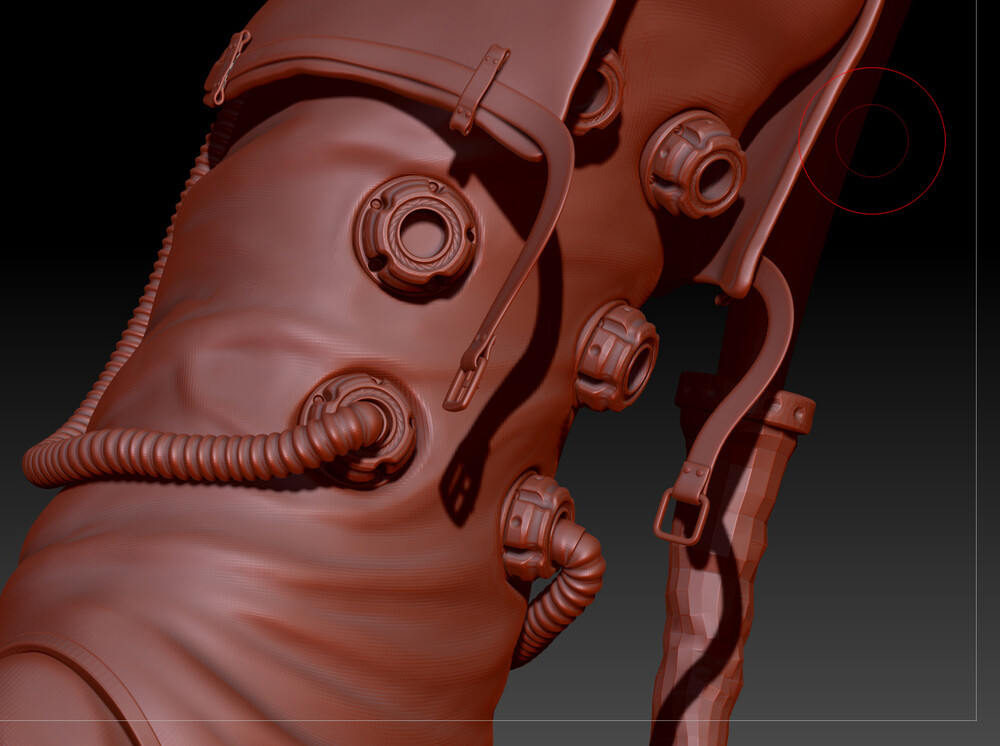
The valves were fun to do, anything that requires the trim dynamic brush to crush corners is fun to do. There is a radial symmetry feature that means instead of mirroring your brush strokes over one axis, as is fairly common, you can mirror multiple times around an axis. So radial symmetry down the z axis split five ways allows me to sculpt and cut away bolt hole five times evenly spaced with one stroke, which is rather neat. It's also possible to get nice kaleidoscopic patterns this way, as brush strokes begin to overlap each other. I'd thought about the breathing apparatus more at this point and created extra tubes to connect the ones entering the jacket to these front valves, still no sense but at it flows from one place to the next.
Final Touches
Beyond this point it was polish polish polish, and then convincing myself its done. Otherwise it will never see the light of day. As soon as the renders are done I'll write another, shorter post.

Here is a self aware quote summarising the salient point of the entire article.— Olly